I made some good progress on the first of the two "Virtue" knives. In fact, it's practically finished, lacking only a good sharpening. I decided to focus on the one knife, taking it through to completion before I bring the second knife along. I had a craving to hold a finished knife in my hand, and finishing them one at a time helps me get to the finish line sooner. Here's a look at what I was able to accomplish over the weekend.
The handle is all fitted and ready for a final satin finish. I got everything polished up nice and shiny on the grinder and a little bit of hand work. I wanted to put a satin finish on this knife, so I left the bolsters attached to the liners and removed the mammoth scales.

A satin finish is a fairly simple process, but requires a lot of work. I chose to put a 1500 grit finish on this knife, so I sanded successively up through the grits and finished up with 1500 grit paper. The big trick to a good finish is a nice, consistent scratch line over the whole bolster. The reason for leaving the bolsters attached to the liners is to be able to keep the small pieces supported while they get finished. A simple clamp holds the piece securely to the workbench. It can be a little difficult on the curved surfaces to keep the lines straight, but with a little patience and persistence, it's quite doable. To back the sandpaper, I use a rubber pad that I cut out of a sanding block designed for use on drywall finishing. It has enough flex to it to help get around those curves, and yet is firm enough to work the flat areas.

This picture is a little fuzzy, but I think you can still see the difference between the bottom and the top halves of the handle. I really like the softness that a good satin finish creates. It's certainly worth the extra effort and it doesn't show scratches and wear like a mirror finish will.

Next, it was on to the spacer. Polishing up file work can be a little tricky, depending on the actual pattern used. This particular pattern is what I call "twisted ribbon". Some may call it a rope pattern, but I think it looks more like a ribbon wrapped around a cylinder. Using sandpaper wrapped around a file, I get into the grooves of the file work pattern to bring up the polish. It then gets a turn on the buffing wheel to really bring out the brilliant shine. In fact, it's so shiny that it blurred the picture. Bummer! I guess you'll have to take my word for it that it looks great. I'll get some much better photos of this knife real soon so you can see all the details clearly. I take progress photos with my phone as I don't want to damage my good camera.
With the bolsters and spacer finished, it's time to tackle the liners. On the last build, I showed my process of jeweling the inside of the liners of the "Guardian" knife, so I won't repeat it here. Here's a link if you missed it
Jeweling Liners. It's a subtle detail since you have to look inside the knife with just the right light in order to even see it, but I think it's worth the effort. But, it is quite visible at the thumb release part of the lock bar.
With the liners polished and jeweled, it's time to give them some color. Titanium is truly a wonder of nature. By passing electrical current through a bath of electrolyte, titanium builds up layers of titanium oxide. By varying the voltage, the thickness of the oxide layer is controlled, producing different colors. Mr. Titanium explains this very well on his website at
Mr. Titanium if you are interested in the science of the process.
My setup is fairly basic. At the right of the above photo you can see my DC power supply. The negative lead attaches to a sacrificial piece of steel suspended in the electrolyte bath. This particular piece of steel happens to be a messed up liner from the very first folding knife that I ever made. A piece of stainless steel would be better, but this hunk of O1 works just fine and holds some sentimental value. It's as though that first knife is imparting something of itself to all of its progenitors. Kind of cheesy, I know, but hey, I'm sentimental.
The positive lead gets attached to the liner that will be anodized. The bath is filled with electrolyte which is simply water and Borax laundry detergent mixed together to full saturation. In the upper left corner of the photo, you can catch a glimpse of a little color chart with listed voltages for the different possible colors. I have three or four go-to colors that I really like, but it's good to have possibilities to choose from. If you do your own anodizing, don't trust any chart explicitly. Each set up has different variables that effect the true voltage needed to achieve a desired result. Run a trial run with your set up and record the voltages that work for your process before you ruin all the hard work that you put into making your liners.

After a few seconds at 13 volts, this is what we get. I chose a nice bronze color that will go well with the red spacer behind the scales as well as compliment nicely with the colors of the mammoth. I feel it's very important to carefully choose your colors, textures and finishes that are used in a knife. I want the end product to be as aesthetically pleasing as it can possibly be. Like Hannibal used to say on the old TV show the A-Team, "I love it when a plan comes together." This is by far my favorite anodizing color.
Next up, the blade gets its 1500 grit, hand-rubbed, satin finish. The photo doesn't show it, but the spine and tang get a mirror polish for some added contrast and drama. That's a great looking blade if I do say so myself.
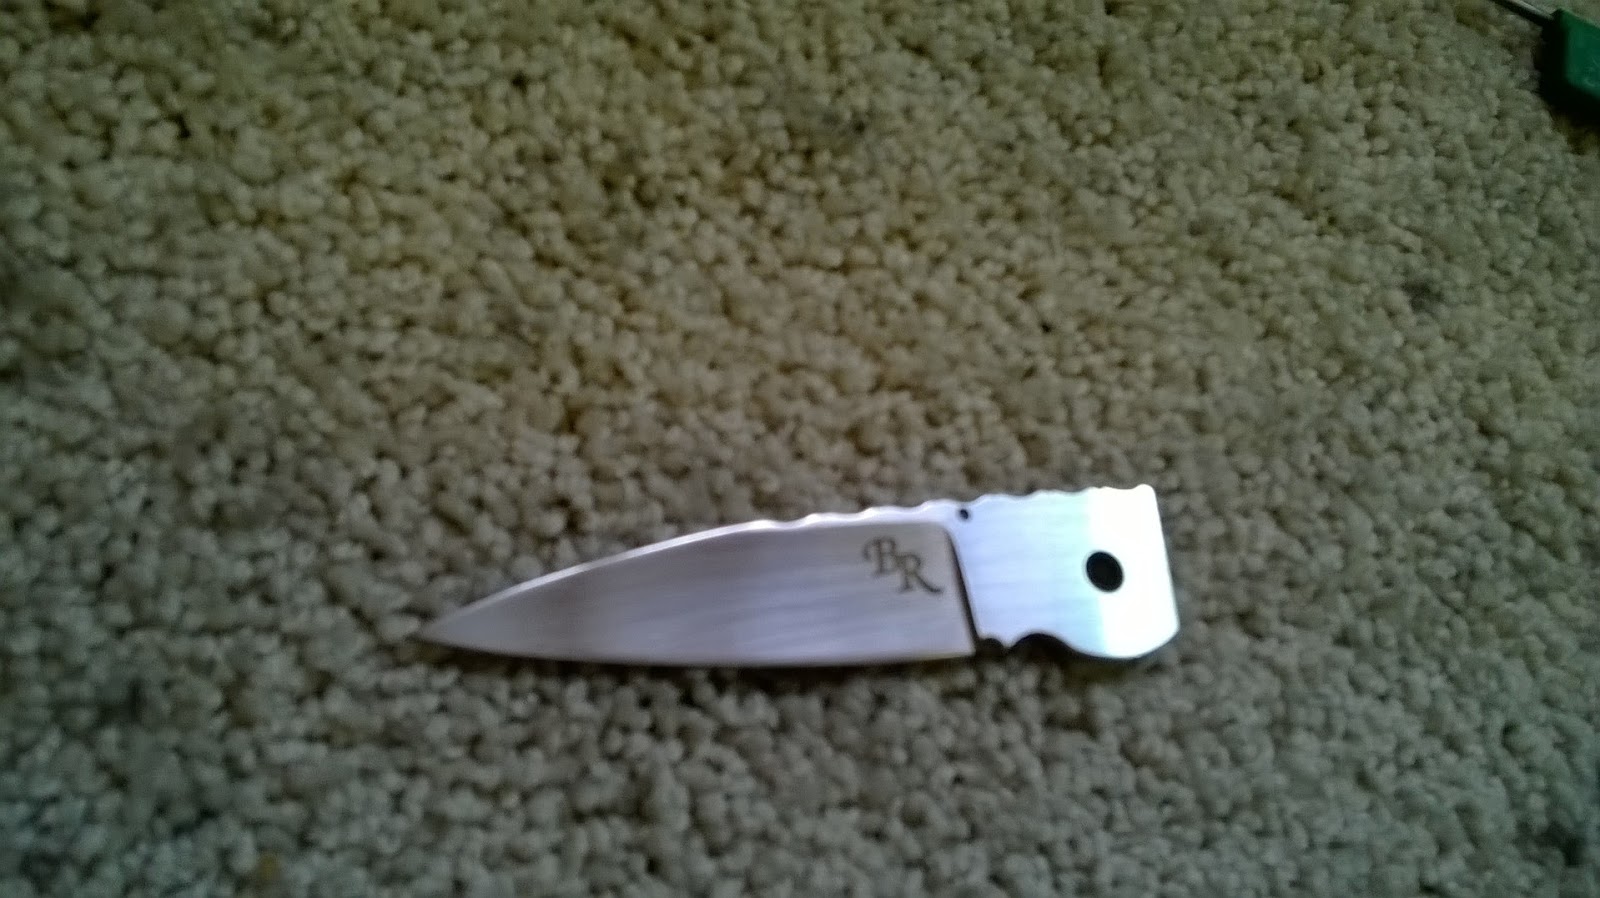
I fired up my new, shop-made electrochemical etcher and etched my mark into the blade. Man, I like that look! I've had many people ask me why I don't mark my blades. Now I can tell them I do. Maybe it will improve my name recognition along the way too. Classy!
Pictured here is the completed knife. I know you hear it all the time, but let me tell you, the picture really doesn't do this knife justice, and it looks pretty darn good in the photo! I missed taking photos of the fabrication of the thumb stud, so I'll be sure to include that in the next knife too. I have to say, that this is by far my best knife to date. The fit and finish is really nice and the knife opens and closes effortlessly. As I stated at the beginning of this post, I still need to put an edge on the blade. Once I do, I'll take some good photos with a better camera to show off the knife in its best light.
This has been a really fun build and I continue to learn with each knife I make. The great thing is that I have another knife sitting on my workbench that is just waiting for the detail work, which is the funnest part of knife building. I'll get back on that one if I have some time over the 4th of July holiday weekend coming up.
I appreciate you following along with me on my knife making adventures and hope you are enjoying your visit. Thanks for stopping by the Robinson Edge.
- Brandant Robinson


No comments:
Post a Comment