After this weekend in the shop, I am almost finished with the Jaguar build. I know I say this about every new knife, but this one represents some of my best work. I'm also quite happy with this new design. It's slightly larger than I usually make with a couple other "firsts" for me. Here are some pics of what I was able to get done.
This photo shows the scales and bolsters in their finished state. The Micarta scales are nice and shiny and the bolsters all have a hand-rubbed 600 grit satin finish.
Before I cut in the lock, I need to get the closed position of the blade set. This entails grinding away the tang where it engages the stop pin and a little grinding of the inside of the spacer. This above pic shows the end product.
If you look closely at the photo, you can see a line scratched into the black marker on the liner. This is the outline of where the lock will be cut out.
This is my setup for cutting out the lock.
Here is the lock after it has been cut out. I'll clamp it in my vise and use some strips of sandpaper to polish up the cut.
In this pic, I'm dialing in the lock face. I assemble the knife, clamp it in my vise, wrap a little tape around the lines to avoid scratches, and file away at the face of the lock until it engages properly.
Moving on to the blade. Starting back at 220 grit, I start cleaning up the grind and begin the long and laborious task of hand sanding the blade finish.
Here's the blade after I reach 600 grit. Looking good!
This is the carnage of sandpaper that went into polishing out the blade.
Now it's time to begin some detail work. To start with, I blacken in the edge of the spacer and liners with a Sharpie and scratch witness lines at 1/8" intervals to keep the file work uniform.
I decided to go with one of my favorite patterns on the spacer, the twisted ribbon, with an additional twist (pun intended). After about six twists, I reverse the pattern so the twists go in the opposite directions. It's a combination of my alternating twist pattern and the twisted ribbon. I'm sure you all wanted to know that.
Here's a little closeup of the completed spacer.
Here is a pic of the spacer after it has been sanded up to 600 grit. Once it has been sanded, it goes for a spin on the buffer and then I hit the highlights again with 600 grit paper to give it a little contrast. I like it!
For the liners, I'm going with a climbing vine pattern. These thin spacers are a challenge for this type of detail, but it looks really cool when finished. The photo shows the two liners with the initial cuts.
Here they are after the file work has been completed, the work has been sanded, and after a turn on the buffing wheel to make them all nice and shiny. I might dedicate a post to file work sometime and take some pics with the good camera so you can see how it's done. Look for it in the future.
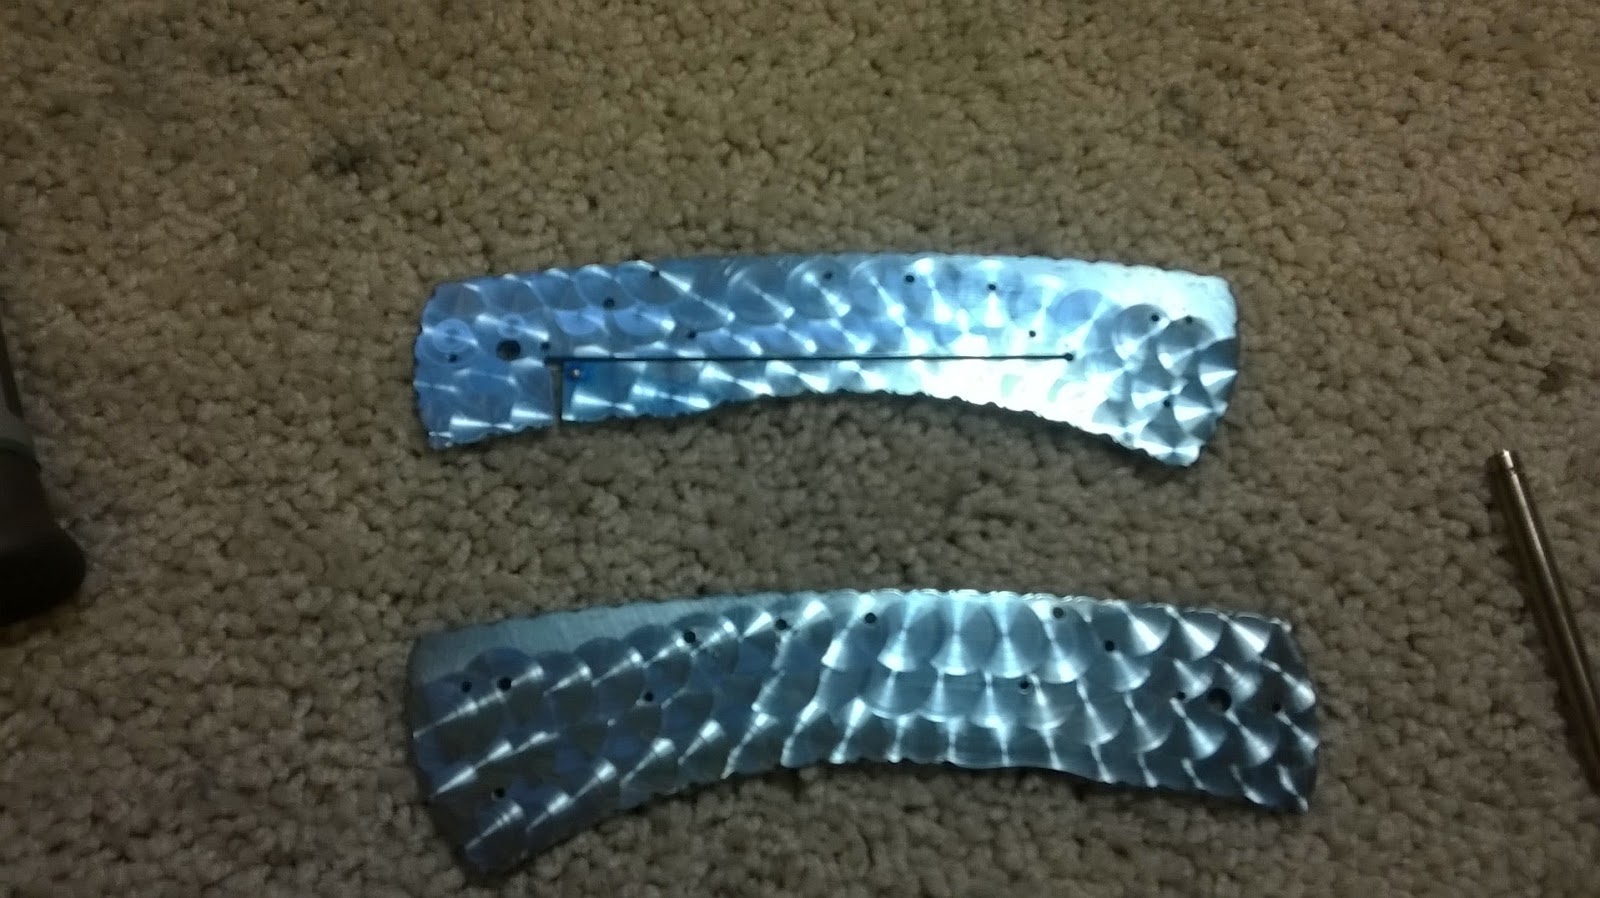
With the file work complete, I was able to move on to jeweling the inside surfaces of the liners. It turned out pretty good.
I chose to anodize the liners an ice blue color that compliments the red scales really well.
Here is the completed blade with my logo etched into it. I'm thinking about changing my logo to something with some name recognition. I've got a design sketched up, I just need to find someone who can make me a stencil.
The final task that I accomplished this week was to polish up all of the exposed hardware. This little jig is a little piece of titanium that has threaded holes. I use it to trim screws to length and to hold screws while I polish up the heads. It works pretty well. I still need to get around to drilling and tapping a few more holes so I can do multiples instead of one at a time. But, for now, it works just fine.
Well, folks, that's it for this week. I should be able to easily complete this knife in the coming week. If you're interested in purchasing it, just shoot me an email. It will go on sale publically as soon as I get it finished up. Thanks for following along with me on this knife-making adventure.
- Brandant Robinson


No comments:
Post a Comment