Most of my efforts this weekend went into shaping the handle and hollow grinding the blade of this, the new Bobcat knife. I like to take my time when making a knife so that I can be sure to get everything just right. I guess that's why handmade knives are so highly regarded since the maker does his best to get the details as close to perfect as his skills allow. With each knife I make, I try to make it a little bit better than the last one finished. I take a lot of time after finishing each knife to evaluate each area where improvement could be made and do my best to make those improvements on the next one.
Here are a few photos of the progress made on the knife over the weekend.
Before working on the handle, I spent some time getting the pivot assembly built up. I bought myself a new micrometer which really helped to get everything to fit together more precisely. I've shown many times how I build my pivot systems, so I didn't take time to snap photos of that process.
To begin the shaping of the handle, I removed the scales and worked on the bolsters alone with them still attached to the handle. The reason for removing the scales is the fact that wood is much softer than steel. I don't want to remove too much wood from the scales as the steel bolsters are ground down to shape. I will reattach the scales once I get the bolsters ground down to about 220 grit. This photo shows the bolsters after they have been shaped using an 80 grit belt on my slack belt attachment. I really liked the look of the last knife that I used this method on and decided to give it another go with this knife build.

Here is the handle after the bolsters and scales have been ground down to 1500 grit. The bolsters are nice and shiny and the Damascus pattern in the Damasteel shows up faintly, even before they get their bath in acid. I'm really sold on shaping my handles this way. I have a feeling that this method will make it into most of my future work. You really have to feel it in your hand to get the full picture, but it is very comfortable and sleek.
Here is a view of the spine of the knife. You can see how the curves of the sides are very gentle and sweep over the whole face with only a slight reveal at the spine. Very classy and very comfortable!
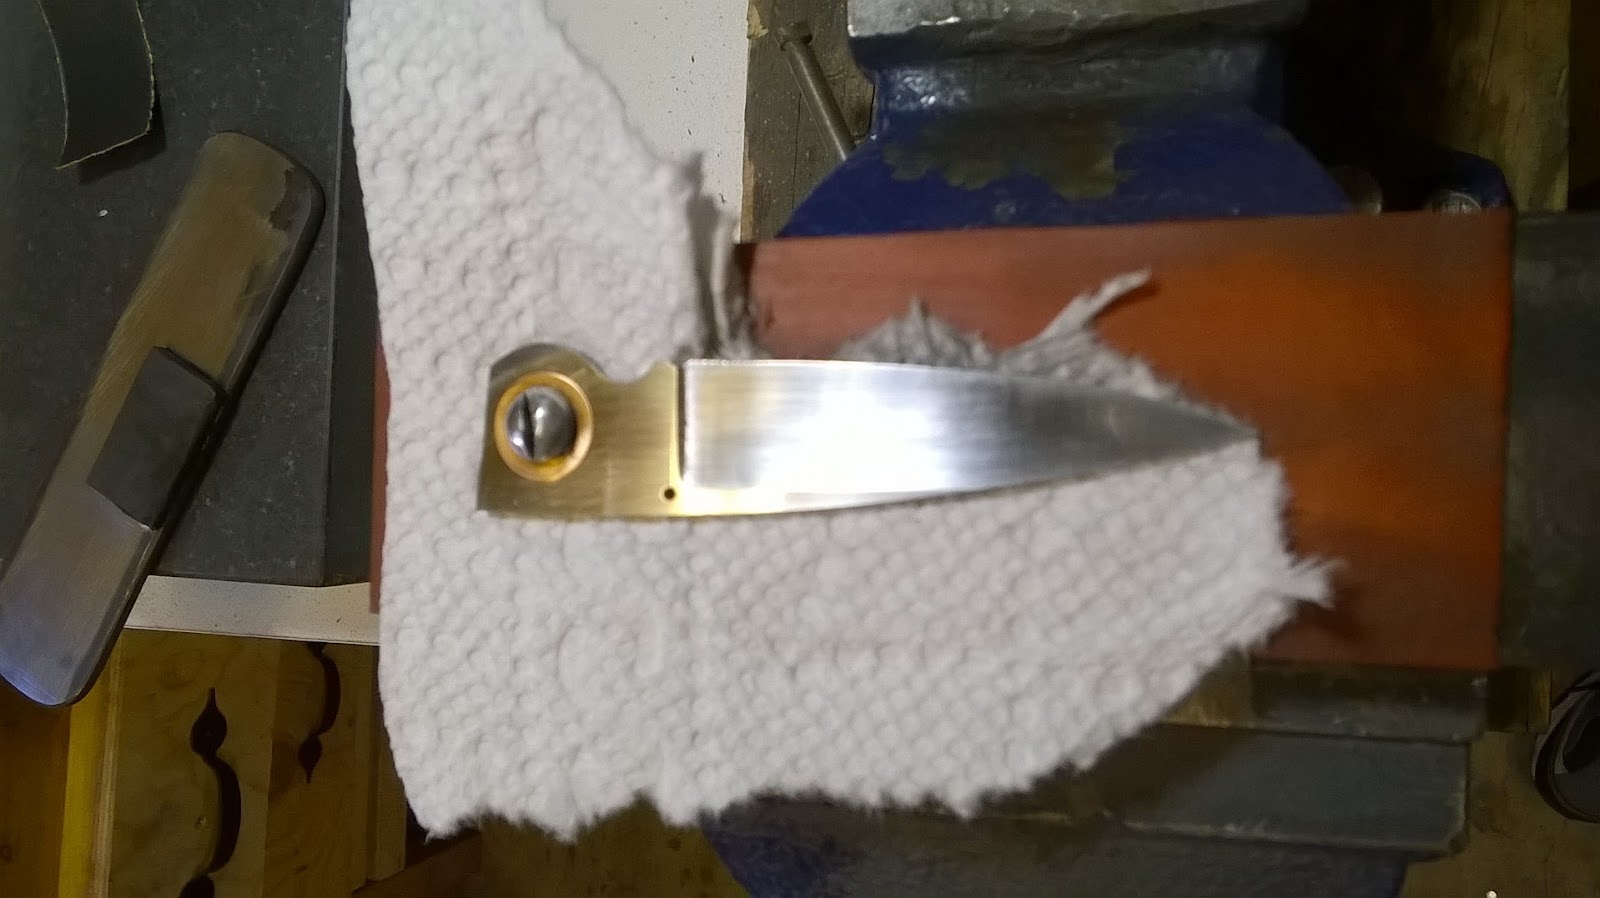
I didn't take any photos of hollow grinding the blade. There's really not much to see along the way that I haven't shown before. The grind turned out really well with an extremely fine edge and mirrored plunge lines. The photo shows the blade where I left it for the weekend, fastened down to my hand-sanding jig. I still have quite a bit of hand sanding left to do before the blade can be considered finished, but it will have to wait until I get back to my shop next week.
My goal for next week is to get the blade finished up, get the fit all dialed in, and maybe get started on the file work for the spacer and liners. Time permitting, I might get brave and try my hand at etching the Damasteel bolsters. I've done some research since my last experience with Damasteel and hope to get a better etch and really bring out the contrast in the layers. Thanks for stopping by the Robinson Edge.
- Brandant Robinson


No comments:
Post a Comment