I hope everyone enjoyed their Independence day weekend as much as I did mine. It was nice to gather around with family, get a few honey-do projects taken care of, and to take time to reflect on the freedoms and liberties that we enjoy here in the United States of America.
In between the celebrations and the projects, I managed to make a little progress on the utility knife of my daughter's kitchen knife set. Here are a few pics showing last weekend's accomplishments.
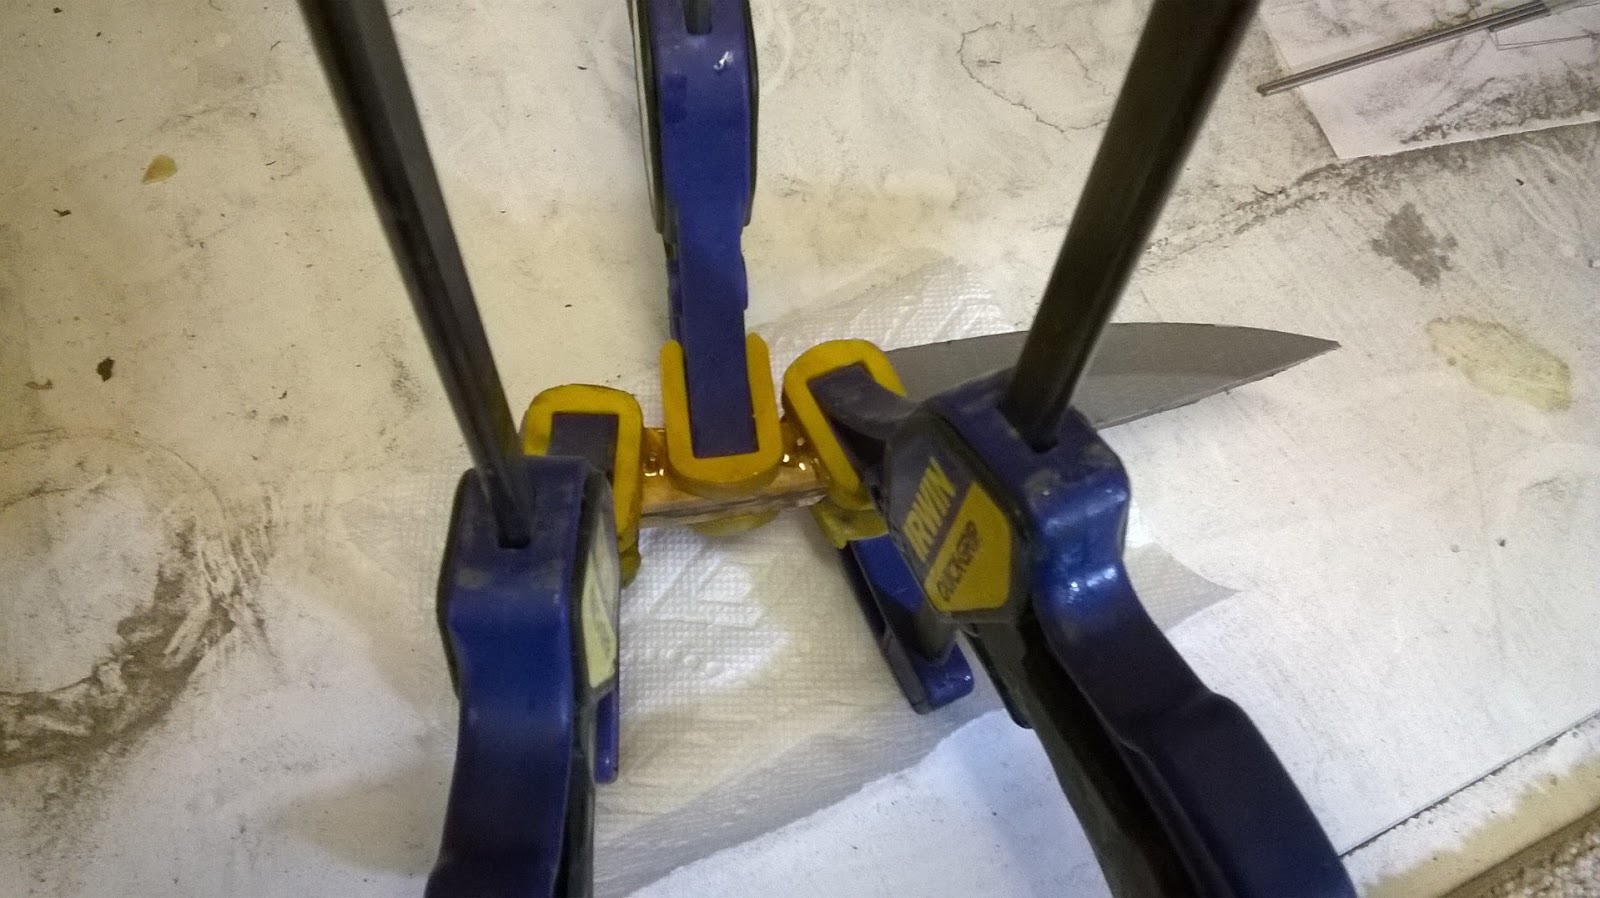
I spent some time completing the hand-rubbed finish on the blade of this knife and covered it with the handyman's secret weapon to protect the finish from scratches. The bolsters have been blocked out from a bar of 1/4 inch thick 416 stainless and the inside surfaces have been ground flat on the disk sander.
Here are the six pins for the knife made from 3/16 inch 416 stainless pin stock, cut to length and ready to be put to use.
The front bolsters have been drilled and glued together so that the front ends can be ground to match. Here they are still glued together with a 600 grit finish on the faces. I use a small drop of super glue to hold them together while matching. A simple tap on a hard surface is enough to break the glue joint when the time comes to separate them.
The back ends of the bolsters get a 30 degree dovetail ground in.
After some work at the anvil, the front bolsters have been attached. No visible pins after a quick spin on the grinder means that the process was done right.
Time to work on the scales. Here they are with the front edges fit to the front bolsters and the black liners glued in place.
This picture shows the scales pinned temporarily in place. The front pin is way to far forward for my liking, but it's the price to pay after making the big mistake with the scales on the last knife. If you recall, I had to scrap a set of scales, which meant I only had just enough matching box elder burl for one more set so that all four knives would match. So, on this knife, I had to extend the back of the front bolster in order for there to be enough scale material for this knife. Since the holes were already drilled through the hardened tang, I was stuck with the pin location. It just goes to show that one mistake can ripple out in a large project. Oh well, I can live with it. Live and learn I guess.
Here the rear bolsters have been installed and peened in place. You can see the heads of the pins here which will get ground off flush.
With the handle assembled, I ground the parts down to the correct profile. Even with that front scale pin a little forward, this should still be an attractive piece.
Here's a spine view to show off the tapered tang and the look of the dovetailed bolsters and black liners. Pretty snazzy!
The last thing accomplished was to glue the scales in place. Epoxy is always a messy ordeal, but it's a necessary evil to keep things fixed. I should be able to get this knife finished up next week and be on to the last piece of the set. Thanks for following along with me on this build.
- Brandant Robinson


No comments:
Post a Comment