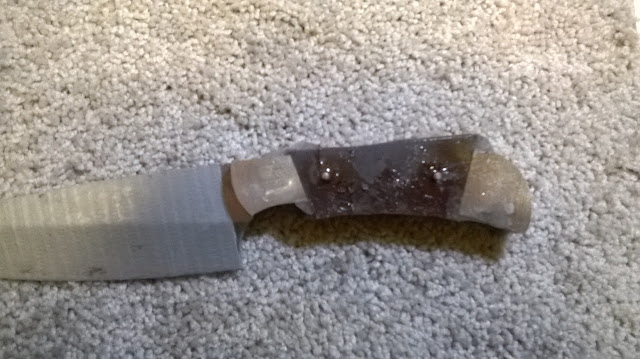
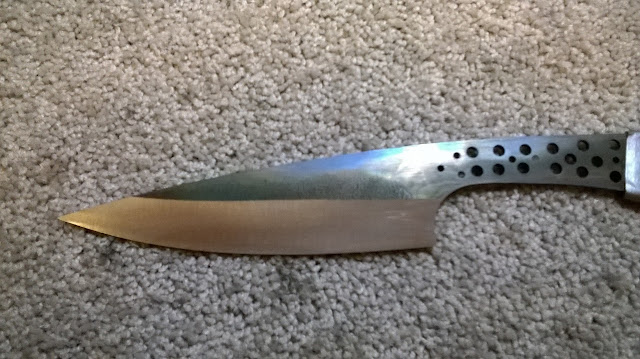
If you recall from my last post, the chef's knife met an untimely demise, so I had to start over with this knife from scratch. Here is a piece of 1/8" 440C with the knife pattern drawn on and the steel and rough cut.
After a few minutes at the grinder, the profile has taken shape.
I skipped a few photos, but there really wasn't much to see. Here is the knife after coming out of heat treatment. I guess losing the last knife left me a little gun shy. I decided not to drill any weight reduction holes in the tang or to taper the tang until after heat treatment.
Here is the tang after it has been tapered. I do this step freehand on the grinder with the flat platen.
The initial hollow grind has been established. I start my grinding at 50 grit and progress up through the ranks.
Here is my hand sanding setup. My sanding jig is built to accommodate my small folder blades, so I have to use some c-clamps to hold the blade steady and the tip sticks out passed the jig. Not a big deal, but I put a piece of tape on the tip to keep from becoming impaled on the tip of the knife. On my sanding stick, after a few hours of work, the wood handles were digging into my hands, so I taped some padding onto them for comfort. Kind of redneck I know, but it was a good temporary fix.
The front bolsters have been fit to the tang and the holes drilled through to match those in the tang.
Here the bolsters have been pinned together and the front faces have been sanded to 400 grit to match the finish on the blade.
After a trip to the anvil, the front bolsters have been peened in place.
Next, the scales need to be fit to the handle. In order to see what I'm doing on the dark-color Micarta, I put a couple pieces of masking tape on the face and trace on the pattern.
The scales are fit and the back ends have been dovetailed and pinned temporarily in place.
Here the rear bolsters have been attached and the epoxy is warming up, getting ready to attach the scales to the handle permanently.
The chef's knife it its ugly state. The bolsters are peened in place and the scales have been epoxied to the tang.
The handle has been shaped and finished up to 400 grit. This handle shape is very comfortable, which is good since this knife should see a lot of use. After this I marked the blade and put on edge on it. There are a few pics of the finished knife and the whole set at the bottom of this post.
The oak pieces get cut on a taper in order to give the fan effect that I'm looking for.
Here are the boards stacked in place to see how they will fit. The block didn't give enough space to allow for the thickness of the knife handles, so I decided to add some walnut wedges from the board shown.
After cutting the walnut to size and shape, the pieces get dry stacked together to see how they will look. Looks pretty good.
I stacked the boards together in a makeshift square and drew in a line for a curve on the face of the block where the knives will be inserted.
The boards have all been rough cut for the face curve. Nothing has been glued in place yet, just dry stacked.
Since I knew it would be a little tricky to clamp the block together without all the boards wanting to wander, I pinned each board to its neighbor as I glued them up. Here's the stack as left to cure over night.
Here's a group shot of the finished knives. The first three have already see a lot of use in the kitchen over the past few weeks. It's nice to have the set complete.
One final pic of the complete set. I think it all turned out really nice. This should be a nice, lifetime set of knives for my sweet wife and I to use in the kitchen. This was a fun project, but I'm very glad to see it completed. I'm ready to get back to making my folders. Thanks for following along with me on this knife-making adventure.
- Brandant Robinson


