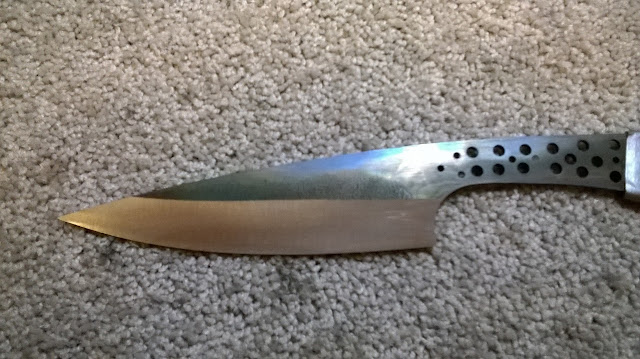
I made some good progress on the chef set over the past weekend. I was able to get the boning knife completed and made some headway on the utility knife. Here are a few pics of the progress on the set.
Here's the boning knife out of the clamps in all its "ugly" glory. Right now it looks like something a preschooler might have put together. Not to worry though. After a few minutes at the grinder, things will clean up nicely.
Here's the handle after some time at the grinder. Looks a lot better, doesn't it? I love how dovetailing the bolsters and scales looks after contouring the handle. It gives the illusion that the bolster/scale junctions are curved. The handle turned out really comfortable.
Here's the finished knife completed. I had a little fun carving up an index card that I had lying on the bench. The knife is very sharp and should make for a great kitchen accessory. I took it into my sweet wife and she was very pleased with it. She used it to cut up some chicken for grilling and loved the way it felt and how great it cut. I'm glad she likes it. On to the next!
Here's the utility knife after the initial hollow grind has been ground in at 50 grit.
After a quick check on the cutting edge, it looks like we're at about 25 thousands. This will get thinner as I progress through the abrasive grits, but for now, that will do. In the end, I'll take this one up to 400 grit like I did with the other two.
The blade has been ground and satin finished out to 400 grit at this point. I taped off the blade with the handyman's secret weapon, duct tape, to protect the finish while I work on the handle. I have the first front bolsters clamped onto the tang, ready for drilling the pin holes. This is where I had to knock off for the weekend. I hope to get this knife completed this next weekend. I don't think I'll have the chef's knife done in time for Christmas, so this project may turn into a Valentine's gift. Oh well, I've already given the first two knives to my sweetheart anyway, so it doesn't really matter when they are all finished. I just hope they get some good use in the kitchen. Thanks for following along with me on this project.
- Brandant Robinson


No comments:
Post a Comment